
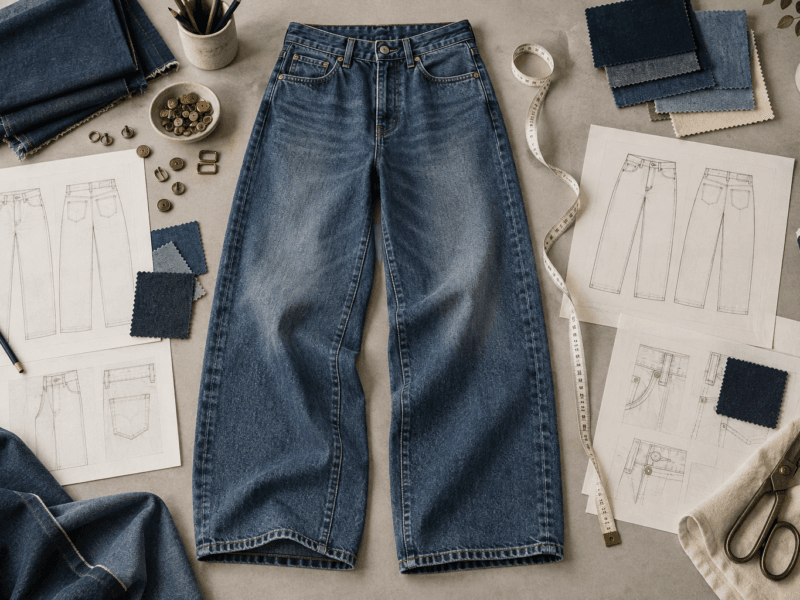
A production-ready baggy jeans tech pack translates a Y2K silhouette into measurable fit, fabric, trim and wash requirements. This B2B guide explains how to specify oversized denim, validate washed samples and prepare for bulk sourcing.
A pair of baggy jeans can look effortless on the street. Getting that same pair through development rarely is.
The waistband has to sit low without slipping. There needs to be room through the seat, but not a pocket of loose fabric hanging underneath it. And those folds over the sneakers? They depend on more than adding a couple of inches to the inseam.
For DTC brands and boutique labels, this is where a promising Y2K collection can become an expensive sampling exercise. The sketch looks right. The first sample almost does. Then it goes through the wash, and suddenly the leg twists, the pockets feel fragile, or the fit bears little resemblance to the approved measurements.
Our view is simple: the relaxed look needs disciplined development.
This guide draws on the manufacturing approach at our export facility in Jiangmen, Guangdong, a 7,000-square-meter operation equipped with more than 330 garment machines. We’ll work through the tech pack, pattern, fabric, washing, and sourcing decisions that give oversized denim its shape—and help it keep that shape beyond the product shoot.
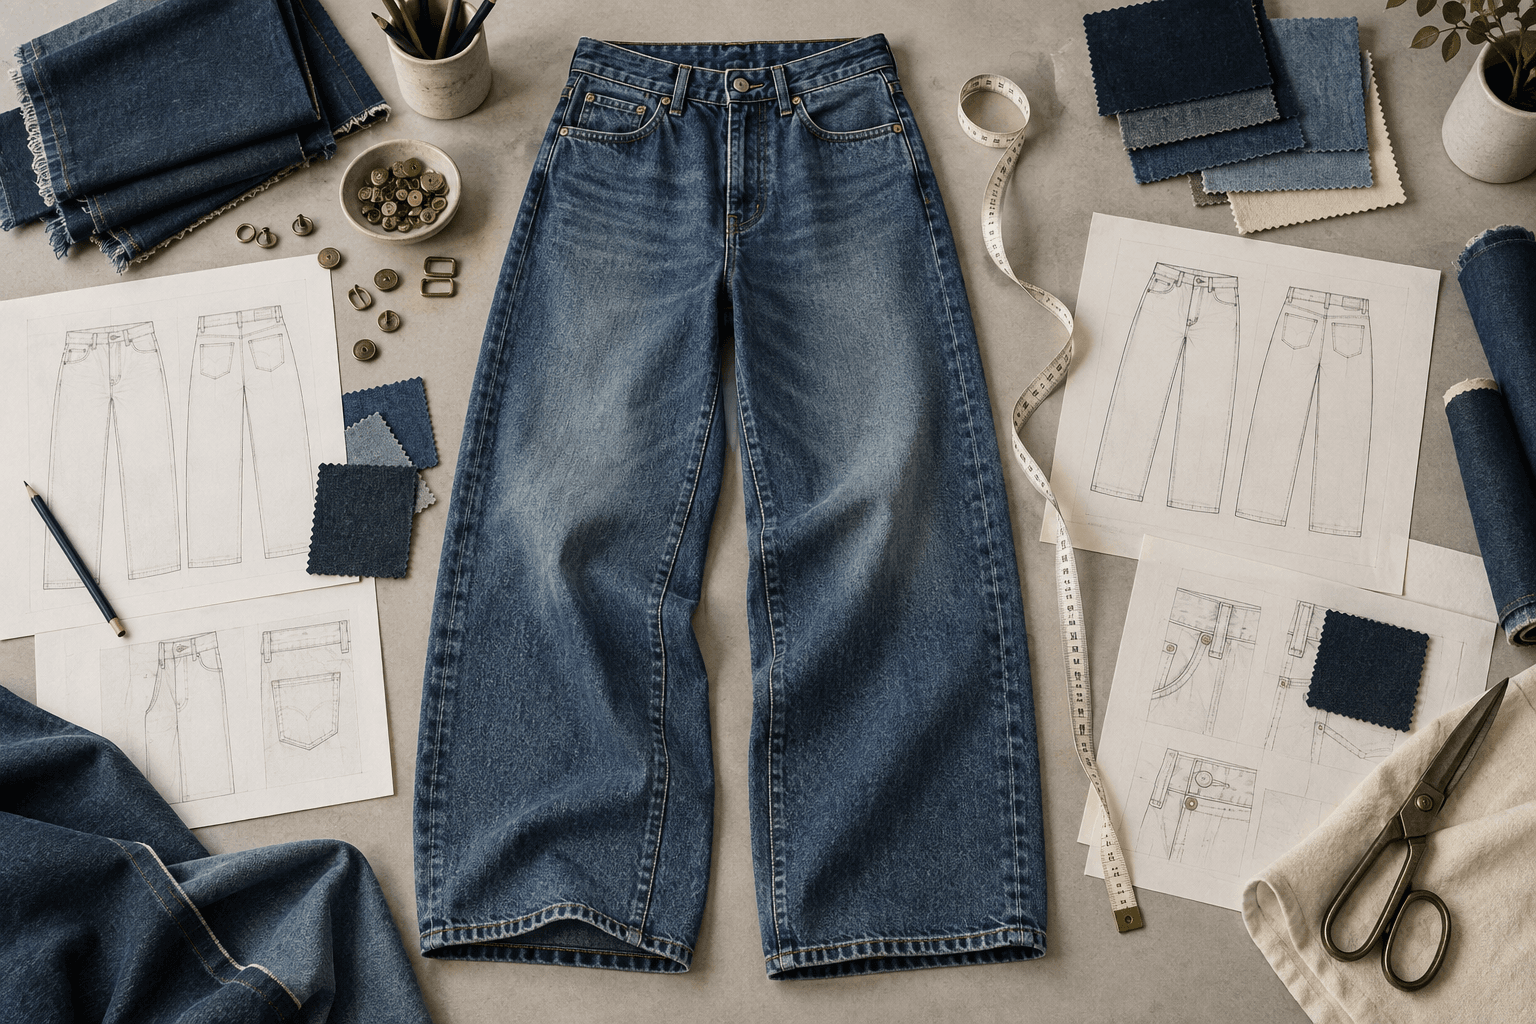
1. Baggy Jeans Tech Pack: Essential Y2K Denim Specs
“Make it baggier” is useful feedback in a design meeting. On a factory floor, it leaves too much open to interpretation.
Does that mean a wider thigh? A lower crotch? More room at the knee? All three would change the silhouette, but in very different ways.
A good tech pack answers those questions before the first panel is cut. If you are building your first specification file, follow our step-by-step denim tech pack guide. Think of it as a shared set of instructions: the designer, pattern cutter, sample machinist, and wash team should all be working toward the same garment.
Key Measurements for the Iconic Y2K Silhouette
The appeal of a strong Y2K fit is that it feels loose without looking accidental. A few measurements do most of the work.
Low-Rise vs. Drop-Crotch Ratios
For the low-rise silhouette discussed here, a useful starting range is an 8.5″–9.5″ front rise with a 14″–15″ back rise. A front-to-back relationship around 1:1.6 can guide development, although the final balance still depends on the base size, body shape, and intended waistband position.
That extra back coverage matters when someone sits down. Nobody buys a pair of jeans hoping to spend the day pulling up the waistband.
A drop-crotch design is a separate pattern decision. Lowering the fork point by 2″–3″ changes the relationship between rise and leg length. If the intended overall length stays the same, the inseam needs to shorten accordingly. Any extra length for stacking should then be added deliberately.
Wide-Leg Openings
For the skater and rave-inspired cuts in this guide, the half-leg opening falls between 11″ and 14″. Measured around the full hem, that gives a circumference of 22″–28″.
To build in a puddled break over sneakers, begin by testing an inseam 1.5″–2″ longer than your standard length. Then try the sample on with the intended footwear.
This is a small detail with a surprisingly large effect. A hem that stacks well over a bulky skate shoe can sit very differently over a slim trainer.
Here is a reference specification for a size 32 / M:
| Measurement Point (POM) | Spec (Size 32 / M) | Tolerance (±) | Technical Significance |
|---|---|---|---|
| Front Rise (incl. WB) | 9.5″ | 1/4″ | Establishes the front waistband position |
| Back Rise (incl. WB) | 14.75″ | 1/4″ | Provides seat coverage and supports fit during movement |
| Thigh (1″ below fork) | 14.25″ | 1/2″ | Sets the volume through the upper leg |
| Knee (14″ below fork) | 12.5″ | 3/8″ | Shapes the transition from thigh to hem |
| Leg Opening (Sweep) | 12.0″ | 1/4″ | Controls how the hem falls over footwear |
Specify the measuring method beside each POM. In this table, thigh, knee, and leg opening are flat measurements. A factory should never have to guess whether “12-inch opening” means the width laid flat or the full circumference.
Bill of Materials (BOM) & Trim Matrix
Hardware is easy to treat as a finishing touch. On heavy denim, it is part of the construction. Use our custom denim trims guide to plan buttons, rivets, patches and zipper approvals.
The zipper, tack button, rivets, and belt loops all need to survive the garment’s weight, its wash treatment, and ordinary wear. A beautifully aged brass finish is not much use if the button pulls out.
| Component | Reference Specification |
|---|---|
| Closure hardware | #5 antique brass metal zipper with locking slider and reinforced tape |
| Main fastener | 17 mm custom cast tack button; solid brass with dual-prong tack |
| Pocket reinforcement | 9.5 mm washer-style copper rivets at the coin pocket and front pockets |
| Waistband stitching | Tex 80/105 core-spun poly-cotton thread; two-needle chainstitch at 6–8 stitches per inch |
| Belt loops | 5/8″ width, double-folded edges, minimum 42-stitch bar-tack anchor |
Treat these as development specifications to validate on the actual fabric and wash, rather than assuming any matching component will perform identically.
Pocketing deserves the same attention. For this build, specify a heavy 65/35 poly-cotton twill of at least 180 GSM wherever pocket bags are used. If the design includes bagged rear pockets, include those explicitly; conventional rear patch pockets have a different construction.
It is tempting to save a little on the lining because customers barely see it. They certainly notice when their keys find a way through.
2. From 2D Measurements to 3D Fit: Pattern Grading Fundamentals
A measurement chart describes a garment lying flat. Your customer will spend very little time wearing it that way.
The pattern has to translate those numbers into room for the seat, movement at the hip, and a leg that hangs as intended. Enlarging a straight-leg block can add volume, but it does not automatically create a convincing baggy fit. Our tech-pack-to-pattern overview for custom baggy and Y2K denim provides a complementary introduction.
The Geometry of Baggy Patterns: Avoiding Crotch Sag & Inseam Twist
Two problems deserve close attention during development: excess fabric beneath the seat and seams that rotate around the leg after washing.
They may appear together, but they should not be diagnosed as the same defect.
Fork Depth & Back Rise Pitch
A low waistband does not necessarily require a deeply dropped crotch. Confusing the two can leave the back of the garment looking hollow, with fabric collecting where the pattern should support the seat.
For the reference fit here, development adjustments may include refining the rear crotch hook and increasing the back rise pitch by 4°–6°. The aim is to preserve room through the hips and thighs while improving how the garment follows the seat.
Those numbers are starting points. The fit sample decides whether they are right.
Viewed from the side, the distinction is fairly clear: a poorly balanced pattern hangs below the wearer; a better-balanced one follows the seat before releasing into the wide leg.
Grainline Alignment
Wide panels make marker planning awkward. That creates pressure to tilt a piece just enough to squeeze it into a gap.
Resist the temptation.
Keep the leg panels aligned with their intended grainline, using the knee-to-hem direction as a key reference. Any apparent saving in fabric becomes less attractive if the washed seam ends up creeping toward the front of the ankle.
Grain alignment also needs to be assessed alongside the fabric and wash results. A clean CAD layout is the beginning of the check, not the end.
Grade Rules for Extreme Oversized Fits
A successful base size does not guarantee a successful size range.
If every dimension increases at the same rate, larger sizes can gain more rise length and hem width than the design needs. Smaller sizes have their own challenge: preserve the oversized character without letting the garment overwhelm the wearer.
For this silhouette, use a controlled grading approach:
- Increase waist circumference by 2″ per size step.
- Limit front rise growth to 3/8″ per size and back rise growth to 1/2″.
- Beyond size Large, restrict increases in the flat leg opening to 1/4″–3/8″ per size step.
Define the size steps clearly. A 2″ waist increment in this example should not be confused with a numbering system that moves from 30 to 31 to 32.
Then review the size set on bodies. The question is whether the smallest and largest garments still express the same design—not merely whether the spreadsheet adds up.
3. Fabric Selection: Density, Drape, and Structural Rigidity
Two fabrics can share the same weight and produce very different jeans.
One may form broad, clean folds above the shoe. Another may fall close to the leg, even with the same pattern. That is why fabric selection should happen alongside fit development, rather than after the shape has supposedly been settled.
The GSM & Ounce Matrix: Finding the Sweet Spot for Stacking
For the structured vintage look covered here, heavyweight rigid denim is a useful place to start.
13.5 oz–15 oz 100% Cotton Open-End Denim
This is our reference range for an oversized cut with a dry hand and defined stacking. Open-end denim can provide the firmer, slightly coarse character that suits this direction.
Ring-spun denim is not automatically too soft, however, and the spinning method alone will not tell you how a finished garment behaves. Assess the washed sample, not just the fabric description.
The same principle applies to stretch. A 1%–2% elastane blend may suit a different design brief, but it should not be substituted casually into a pattern developed for rigid cotton. For this particular silhouette, 100% cotton keeps the development focused on the intended structure.
Twill Direction & Slub Profile
A classic 3/1 right-hand twill gives the surface a clear diagonal character. If the wash needs more visual texture, cross-hatch slub yarns introduce variation in both warp and weft.
The appeal is in how that texture emerges after finishing. Ask to see the washed effect; an attractive raw swatch is only half the story.
| Fabric Weight | Composition | Expected Direction for This Baggy Fit |
|---|---|---|
| 11.0–12.5 oz | Cotton / modal blend | Softer fall; less suitable for pronounced, structured stacking |
| 13.5–14.5 oz | 100% cotton open-end denim | A useful starting point for crisp folds and a substantial hand |
| 15.0–16.5 oz | 100% cotton rigid RHT denim | Heavier skatewear character; assess stiffness and comfort carefully |
Heavier is not always better. A pair can hold its shape beautifully and still feel too cumbersome for the intended customer.
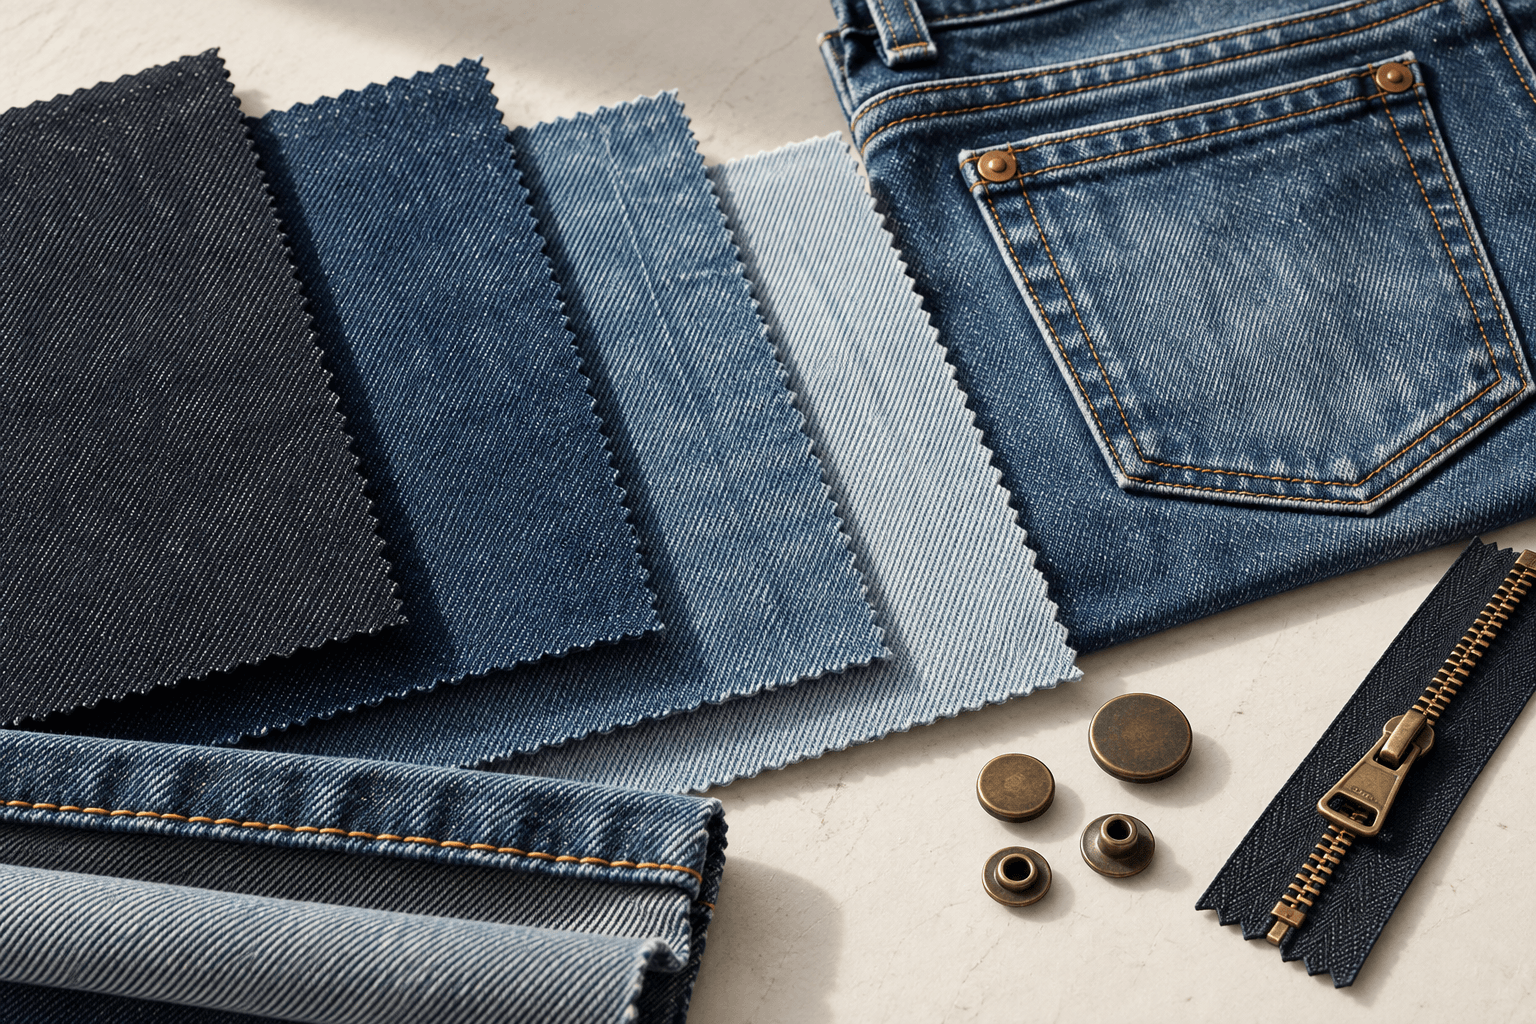
Pre-Shrinkage & Wash Allowances in CAD Patterns
The finished measurement is the destination. It is not necessarily the cutting measurement.
Before finalizing production patterns, run fabric from the intended supply through the planned wash process. Record shrinkage separately in the warp and weft directions.
The reference allowances in this guide are:
- Weft, or horizontal shrinkage: 3%–5%.
- Warp, or vertical shrinkage: 6%–9%.
Use these for early planning only. The allowance entered into CAD should come from the actual test.
Pre-wash dimension = target finished dimension ÷ (1 − measured shrinkage rate).
For a target finished inseam of 32 inches and measured warp shrinkage of 8%: 32 ÷ (1 − 0.08) = 34.78 inches.
The corresponding pre-wash dimension is therefore approximately 34.78″, before any separately required construction allowances.
Cut that same dimension at 32″ without compensation, and an 8% reduction leaves roughly 29.44″. That is about 2.56″ short—enough to turn an intended puddled hem into a very different design.
Keep the calculation tied to the measurement path. Seam allowances, hem construction, and wash shrinkage should be recorded clearly so nobody adds the same allowance twice.
4. Manufacturing Workflow: Sampling, Washing & Finishing
Sampling works best when each stage answers a specific question. Review the available denim washing and finishing options before setting your sample approval criteria.
Can the design be constructed as drawn? Does the wash produce the right hand and color? Does the finished garment fit? Will the stressed areas hold up?
Trying to answer all four from an unwashed first sample is asking too much of it.
| Stage | Purpose | Reference Timing or Check |
|---|---|---|
| 1. Tech Pack & CAD | Establish measurements, materials, pattern, and construction | Resolve open specifications before cutting |
| 2. Proto 1 Development | Evaluate the first physical garment | Reference turnaround: 7–13 days |
| 3. Wash Lab & Distressing | Develop laser, enzyme, mineral, and other specified effects | Review appearance, hand, and dimensional change |
| 4. Fit & POM Review | Compare the finished sample with the approved specification | Apply the relevant ±1/4″–1/2″ tolerances |
| 5. Tensile QC Testing | Check hardware, seams, and fabric performance | Complete the agreed mechanical tests |
| 6. Bulk Cutting & Sewing | Reproduce the approved garment | Reference production window: 15–25 days |
Confirm what each quoted lead time includes. Material sourcing, approval delays, bulk finishing, and shipping should all be accounted for in the actual schedule.
Developing the First Sample (Proto 1) & Fit Corrections
Proto 1 gives everyone something a drawing cannot: a garment that can be worn, handled, and measured.
Our dedicated sample department targets first-sample development within 13 days, subject to the project’s materials and requirements. The useful part is what happens next.
For this development, the reference measurement checks are:
- Waist: ±1/4″, with the flat-width or circumference method stated.
- Hips and thighs: ±1/2″, assessed at the specified measuring points and garment condition.
- Leg opening: ±1/4″ on the flat measurement, consistent with the tech pack table.
If the buyer measures full hem circumference instead, agree on that tolerance separately.
After measuring, watch the wearer move. Have them sit down, walk, and bend a knee. A waistband can look excellent in a standing photograph and become uncomfortable thirty seconds later.
Fabric pooling behind the knee also needs diagnosis. One possible pattern correction is to shorten the back rise fork hook by 1/4″ and remove 3/8″ at the inner rear thigh seam. But apply that adjustment only when the sample indicates it is appropriate. Similar-looking wrinkles can have different causes.
The purpose of a fit review is to identify the cause before editing the pattern.
Authentic Y2K Distressing: Balancing Aesthetics with Fabric Integrity
A convincing worn finish usually has several layers: whiskers near the hip, fading through the thigh, tint in selected areas, and wear at the hem.
The challenge is making those effects feel related. Random abrasion rarely looks like natural wear, and excessive treatment can weaken the places the garment depends on most.
Use a clear distressing map:
| Garment Area | Intended Treatment or Construction |
|---|---|
| Waistband | Double-needle reinforcement |
| Upper thigh | Low-angle whiskers positioned around the low-rise fit |
| Pocket area | Protect the underlying bags and rivet zones from excessive abrasion |
| Thigh and leg surface | Controlled mineral effects or localized bleaching, where specified |
| Lower leg | Laser-assisted abrasion or scraping; use the reference 2″ clearance from the outseam unless otherwise validated |
| Hem | Deliberate fraying and sneaker-break wear, checked for durability |
Whisker Placement
On a low-slung cut, whiskers should follow the garment’s actual position on the body. A fade layout borrowed from a higher-rise style can look strangely misplaced.
Map the pocket bags underneath, too. Surface treatments should be reviewed against the hidden construction, especially around pocket openings and rivets.
Laser vs. Hand Scraping
Laser treatment can make a repeatable fade easier to control across a production lot. It still needs validation: settings and treatment intensity matter, and a laser finish should not be assumed to leave strength unchanged.
Enzyme washing can then help develop the desired hand and worn appearance. Where closed-loop wash equipment is available, specify the relevant process as part of the finishing plan.
For localized potassium permanganate effects, require a validated application, neutralization, and rinsing procedure from the wash specialist. A water rinse alone should not be written into the tech pack as proof of neutralization. CottonWorks discusses potassium permanganate treatment and its washing and neutralization requirements in its denim finishing resources.
Judge the result after the complete process. A good fade is one that still works when appearance and durability are considered together.
Quality Control (QC) Checklist Before Bulk Cutting
Before bulk cutting, the approved development garment should demonstrate that the proposed construction can meet the buyer’s performance requirements.
For this program, the reference checks include:
- Button tack pull test: A target of 90 Newtons held for 10 seconds without the tack button pulling free from the waistband.
- Seam strength: A reference target of 250+ Newtons for the specified seat and outseam constructions, with the test method and failure criteria agreed in advance.
- Colorfastness to rubbing: A reference target of grade 3.5–4.0 or better for the specified wet and dry tests, assessed and reported separately under the agreed AATCC method.
One technical distinction matters here: ASTM D5034 addresses fabric breaking strength and elongation using a grab test. Sewn seam failure is addressed by ASTM D1683. The lab report should identify the relevant method rather than treating fabric strength and seam strength as interchangeable. See ASTM’s D5034 description and its textile testing overview.
Likewise, a passing crocking grade is an acceptance result under defined conditions. It is not a promise that dark indigo will never transfer to a customer’s white sneakers.
Retain the approved sample and its test records. They give the production and inspection teams a concrete reference. Use our jeans factory audit checklist to assess whether a supplier can reproduce those standards.
5. Costing & Low-Risk Production Strategies for Fashion Brands
The cheapest quoted pair is not always the least expensive pair to sell.
A small saving in fabric can disappear into resampling, repairs, or returns. On the other hand, unnecessary yardage and loosely defined development rounds can erode margins before the collection launches.
Good costing makes those tradeoffs visible. See our custom denim production cost breakdown when comparing fabric, trims, washing and development charges.
Yield Efficiency: Lay-Planning and Marker Making for Wide-Leg Cuts
Wide-leg patterns take up space. Individual panels can approach 15″ across, leaving fewer straightforward nesting options than a slim cut.
On a reference usable fabric width of 58″, early consumption estimates are:
- Slim denim: Approximately 1.3–1.5 yards per pair.
- Wide-leg denim: Approximately 1.8–2.2 yards per pair.
The actual figure depends on the size mix, inseam, fabric width, shrinkage allowances, and marker restrictions.
Staggered Interlocking Markers
Stagger front and back panels to use the available width efficiently while preserving their required grain direction.
The distinction is important: pieces can be repositioned and interlocked without tilting the main leg panels off-grain. Marker efficiency should come from better placement.
Rotational Adjustments
Smaller pieces, including selected pocket facings and internal fly or waistband components, may fit into otherwise unused gaps. Cross-grain placement should be approved only where the component’s appearance, shrinkage, and construction allow it.
In suitable layouts, targeted marker changes may improve utilization from around 78% toward 86%. Treat that as a development opportunity, rather than a percentage every order will achieve.
| Denim Fit Profile | Flat Leg Opening | Average Reference Consumption | Reference Marker Yield |
|---|---|---|---|
| Slim / Straight | 7.5″–8.5″ | 1.35 yards/unit | 88%–91% |
| Standard Relaxed | 9.0″–10.0″ | 1.60 yards/unit | 85%–88% |
| Wide-Leg / Y2K | 11.0″–14.0″ | 1.95 yards/unit | 81%–85% |
Ask to see the marker behind the consumption estimate. It is much easier to discuss a cost when both sides can see what produced it.
Minimum Order Quantities (MOQs) vs. Sampling Costs
For a smaller label, the first production commitment can be the hardest decision in the project. You need enough units to make the development worthwhile, without tying up the budget in an unproven fit.
A practical sourcing arrangement should make three things clear. For a smaller launch, review our small-business custom jeans sourcing guide alongside your order plan.
Single-Proto Validation
Give the first sample a defined purpose: establish the fit direction and expose the changes still needed. One proto may be enough for some projects; more complicated developments will need further rounds.
Our stated sample turnaround is within 13 days, with quotations and technical parameters targeted within 3 hours of a sufficiently detailed inquiry.
Speed is useful when the brief is ready. An incomplete spec tends to turn a quick sample into a quick reminder of what was missing.
Reimbursable Sampling Costs
Sample fees cover work that does not benefit from bulk efficiency: individual CAD development, custom wash trials, and small-scale machine setup.
Our sampling fees are fully refundable once the applicable production threshold is met. Put that threshold, the refund mechanism, and any exclusions in writing before development begins.
Turnaround Speed
A contracted bulk production window of 15–25 days can help a brand respond to demand without committing too far ahead.
Confirm the start point. Approved samples, available materials, agreed wash standards, and settled order details all affect whether that window is realistic. Production completion and arrival at your warehouse should also appear as separate dates.
Technical Case Study: Re-Engineering a Defective Skate Denim Line
An independent Los Angeles streetwear label approached our factory after its core wide-leg denim launch recorded a 24% return rate.
The silhouette had attracted buyers. The garments were losing them.
Three recurring complaints gave the development team a clear place to start: twisting legs, a sagging seat, and pocket linings that failed too early.
1. Root Cause Analysis
Customer feedback described the problems in everyday terms:
- After washing, the outseam moved toward the front of the ankle.
- The back of the jeans sagged and pulled at the waistband when the wearer sat down.
- Pocket linings tore near the openings within the first month.
The team reviewed the physical garments alongside the tech pack and CAD information.
The previous supplier had rotated the leg pattern 4.5° off-grain to reach an approximately 1.6-yard consumption target. The wash process also subjected 11 oz lightweight denim to a heavy, 90-minute pumice stone treatment, contributing to deterioration around the pocket construction.
The development problem was broader than a single faulty seam. Pattern placement, fabric selection, and finishing had been working against one another.
2. The Re-Engineering Solution
The revised garment addressed all three areas.
Fabric Upgrade
The team selected 14.0 oz, 100% cotton open-end denim in a 3/1 right-hand twill. This gave the leg a more substantial hand and supported the intended stacking at the hem.
CAD Re-Drafting
The leg pattern was realigned so its grainline ran perpendicular to the knee line.
The team also increased the back rise pitch by 5° and adjusted the crotch curve with a 3/8″ scoop. These changes were developed together to improve seat support while retaining the low-slung, relaxed appearance.
Wash & Hardware Reinforcement
Pocket bags were upgraded to 200 GSM poly-cotton twill. The finishing route changed to an enzyme-assisted wash with selective laser abrasion, reducing reliance on the previous heavy stone treatment.
The objective was to keep the worn character customers wanted while correcting the construction weaknesses that had caused complaints.
3. Production Results
According to the case results supplied for this project, the revised 1,200-unit run met a 15–25 day bulk delivery window.
The reported post-purchase return rate fell from 24% to below 1.2%. Seam torque defects were eliminated in the revised run, and customer re-order rates increased by 42%.
These results belong to this particular project. The transferable lesson is the development process: review the fit, fabric, cutting layout, and wash together before deciding which correction will solve the problem.
A lower fabric consumption figure had looked attractive at the quoting stage. The returns made its real cost much clearer.
Frequently Asked Questions (FAQ)
What is the most critical measurement to get right in a baggy denim tech pack?
Start with the relationship between front rise, back rise, and fork depth.
Those dimensions determine how the upper part of the garment sits on the body. A front-to-back rise ratio near 1:1.6 is a useful reference for the low-rise fit described here, but it needs to be assessed alongside the seat curve and intended waistband position.
Check the sample while seated as well as standing. Comfortable coverage should survive both.
Why does vintage Y2K denim feel stiffer and drape better than modern retail baggy jeans?
The structured feel associated with many vintage-inspired Y2K cuts often comes from heavyweight rigid cotton denim.
For this development direction, 13.5 oz–15 oz open-end denim is a useful reference because it can support defined creases and folds around the shoe. A lighter or stretchier fabric will behave differently in the same pattern.
There is variation within both vintage and modern denim, though. Judge the actual washed fabric rather than assuming the era, weight, or yarn label guarantees a particular drape.
How do factory wash processes impact bulk shrinkage calculations?
Wet processing can change garment dimensions differently along the length and width.
The reference ranges in this guide are 6%–9% warp shrinkage and 3%–5% weft shrinkage. The production allowance should come from tests using the intended fabric and wash recipe.
Once those results are available, calculate the pre-wash dimensions needed to achieve the finished specification. Repeat the relevant checks if the fabric or finishing process changes.
Can emerging brands launch custom denim with rapid turnarounds?
Yes, provided the development and sourcing arrangements support the schedule.
A manufacturer with a dedicated sample team, coordinated wash development, and available production capacity can target sample development within 13 days and bulk production in 15–25 days.
Confirm the MOQ, material availability, number of sampling rounds, approval deadlines, and delivery terms before treating those figures as a launch calendar. A clear brief gives a fast-moving team something useful to move fast on.
Engineer Your Next Collection with Production Experts
A strong baggy fit comes from decisions that work together: the right rise balance, enough leg volume, a fabric that holds the intended shape, and a wash that delivers the finish without undermining the garment.
Kaiping Lianwang Garment Co., LTD provides OEM and ODM denim development and production for Men’s, Women’s, and Kids’ collections.
Our manufacturing capabilities include:
- 20+ years of manufacturing experience serving denim customers worldwide.
- A modern 7,000+ m² facility in Jiangmen, Guangdong, with more than 330 specialized garment machines and 10+ production lines.
- A dedicated R&D team of 15+ people, supporting prototype development within 13 days.
- Annual capacity of 600,000+ garments, supported by 100% full quality control protocols before shipment.
- Responsive project support, with inquiry responses targeted within 30 minutes, detailed specification quotations within 3 hours, and production cycles of 15–25 days, subject to project requirements.
Bring us your tech pack, reference sample, or an existing fit that needs work. We can help identify the measurements, materials, and finishing decisions that need to be settled before production.
Contact our technical team to request a quote or start your first sample development.

Recent Comments